CSF firewall installation and configuration tutorial
Config Server Firewall (CSF) is a Package Insight Inspection (SPI) firewall, intrusion/intrusion and security application for Linux servers.
It is a security tool that can protect your server from attacks, such as brute force, and improve server security.
It works as a WHM plugin and is free. Refer to these instructions to complete a basic CSF installation:
CSF firewall installation
Install CSF: Login to your server using SSH.
cd / usr / local / src /
wget https://download.configserver.com/csf.tgz
tar -xzf csf.tgz
cd csf
sh install.sh
You will see “install complete”.
cd ..
rm -Rfv csf / csf.tgz
CSF Configuration: Log in to your server via WHM as root and go to the menu on the left. In the Plugins section, go to ConfigServer Security Firewall.
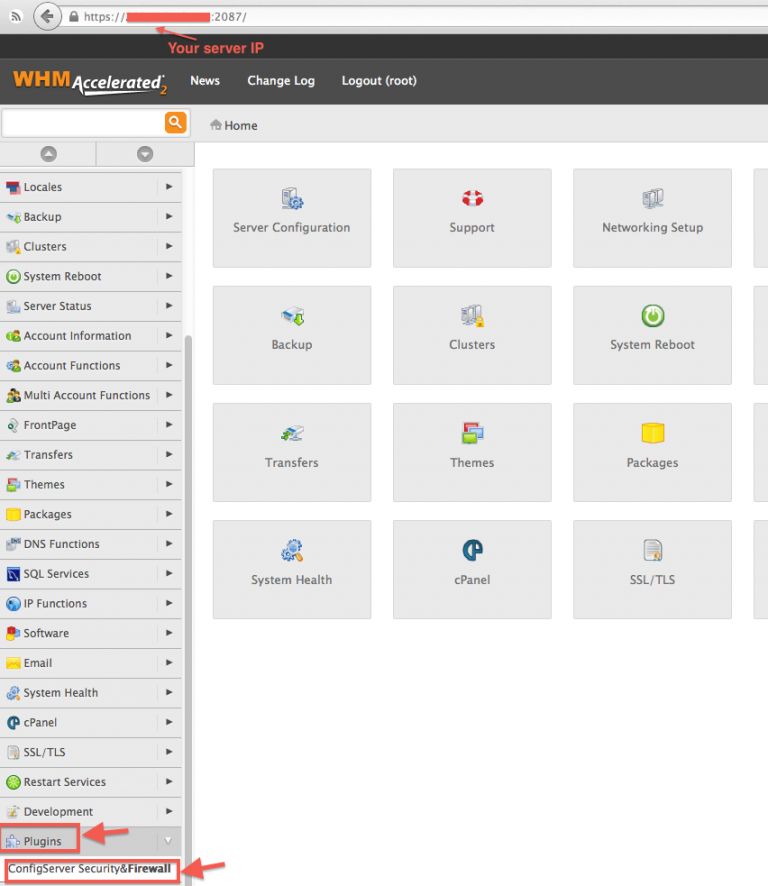
Then, in the section “csf – ConfigServer Firewall” (on the right panel), click on “Configure Firewall”.

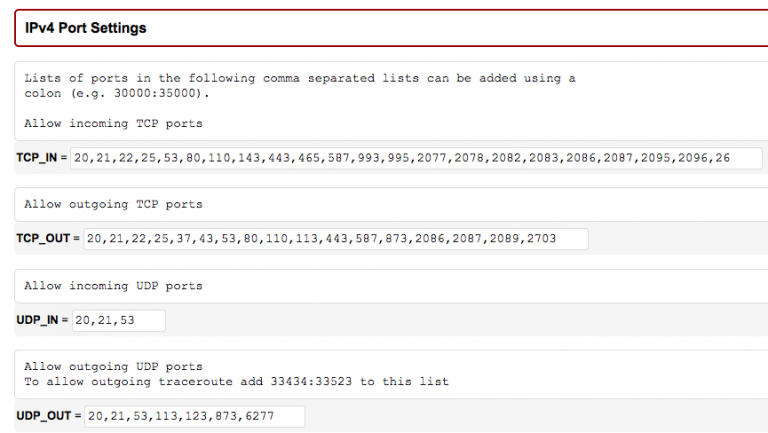
# Filter port configuration – IPv4 port settings #
The following ports are opened by default:
TCP_IN = “20،21،22،25،53،80،110،143،443،465،587،993،995،2077،2078،2082،2083،2086،2087،2095،2096،26”
TCP_OUT = “20،21،22،25،37،43،53،80،110،113،443،587،873،2086،2087،2089،2703”
UDP_IN 20،21،53
UDP_OUT 20،21،53،113،123،873،6277
If you have changed your SSH port number, you need to add this new port in “IPv4 Port Settings” and/or “IPv6 Port Settings”.
You can also use this section to add a specific port for a new application installed on the server.
If you are using the R1soft / Idera external backup solution, you must enable incoming traffic in the TCP_IN field of TCP port 1167.
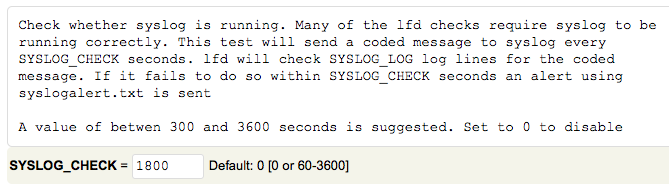
# Enable Syslog Monitoring #
Set “SYSLOG_CHECK” to “1800”
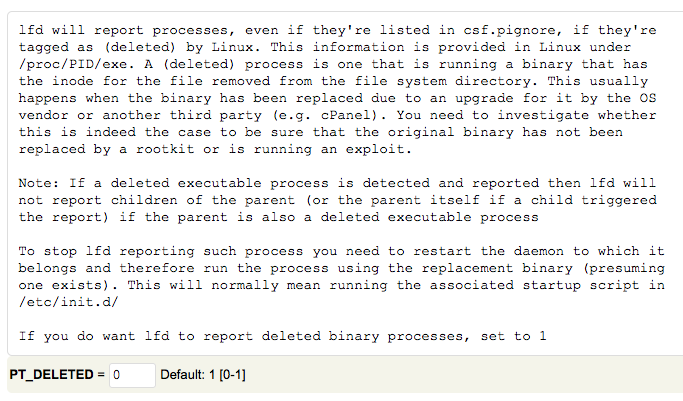
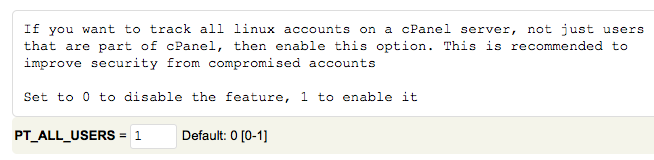
# Suspicious process detection #
Set “PT_DELETED” to “1”
Set “PT_ALL_USERS” to “1”
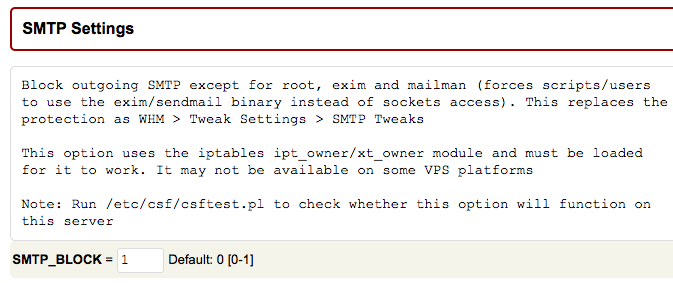
# Spam protection and extensive activity detection (optional) – SMTP settings #
CSF can help you prevent spam abuse and identify suspicious email activity.
Set “SMTP_BLOCK” to “1” in the “SMTP Settings” section.
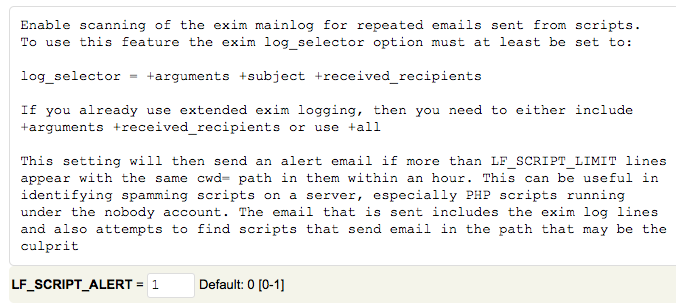
Set “LF_SCRIPT_LIMIT” to “250” to detect the script sending 250 email messages in one hour.
Set “LF_SCRIPT_ALERT” to “1” to send an email alert to the system administrator when the limit configured above is reached.

# Save the configuration and confirm the firewall status #
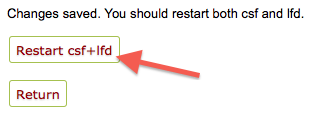
You can save the configuration by clicking the “Change” button at the bottom of the page. Then restart the cfd/lfd service.
After that, go to the main page of ConfigServer Security Firewall.
At the top of this page, you should see “Firewall Status: Enabled but in Test Mode”
If you see “Firewall Status: Disabled and Stopped” please click on “Enable”.
3. Confirm the configuration and remove the “Test” mode.
When you are satisfied with the configuration and have confirmed that it is working well, you should remove the “test mode”.
Return to the “Firewall configuration” section (“csf – Firewall ConfigServer” section)
Set “TESTING” to 0
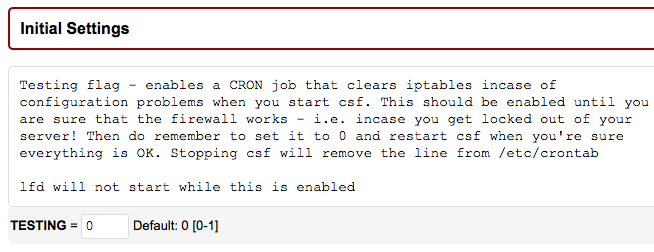
Save this change by clicking the “Change” button at the bottom of the page and restart the cfd/lfd service.
4. Monitor firewall activity
You can monitor the firewall activity by clicking the “System Watch Systems” button on the ConfigServer Security Firewall main page.

Or read the log file /var/log/lfd.log which is accessible via SSH.