How to install VMware Workstation Player on Ubuntu 20.04
Workstation Player is a stable virtualization software that allows you to run multiple separate operating systems on a single machine. With VMware Player, you can create and run your own virtual machines and evaluate software distributed as a virtual appliance from many software vendors on VMware’s Solution Exchange. If you are looking for an open source virtualization platform, you should try Oracle’s VirtualBox. Join us in this article to introduce you to how to install VMware Workstation Player on Ubuntu 20.04.
prerequisites :
To install VMware Player, your system must meet the following requirements:
- 1.3 GHz or faster 64-bit processor, launched in 2011 or later.
- At least 2 GB of memory or 4 GB or more is recommended.
Installing VMware Workstation Player in Ubuntu:
The first step is to install the build prerequisites. Open your terminal and run the following commands:
sudo apt updatesudo apt install build-essential linux-headers-genericThe latest version of VMware Workstation Player is available for download from the VMware download page. Use the wget command to download:
wget --user-agent="Mozilla/5.0 (X11; Linux x86_64; rv:60.0) Gecko/20100101 Firefox/60.0" https://www.vmware.com/go/getplayer-linuxThis command downloads the latest version of VMware Player, which is version 16.1.0.0 at the time of writing this article. After the download is complete, run the installed file:
chmod +x getplayer-linux
Installation is very simple, just run the program and follow the on-screen instructions:
sudo ./getplayer-linux --required --eulas-agreed
The -required option displays only the required questions. Installation may take a few minutes. During installation, you will see progress information:
Extracting VMware Installer...done. Installing VMware Player 16.1.0 Configuring... [######################################################################] ۱۰۰% Installation was successful.At this point, you have installed VMware Workstation Player on your Ubuntu system. To launch the Player, open the Activities search bar, type “VMware Workstation Player” and click the icon. When you launch the program for the first time, a window like the one below will appear asking if you would like to use VMware Workstation Player for free for personal, non-commercial use:
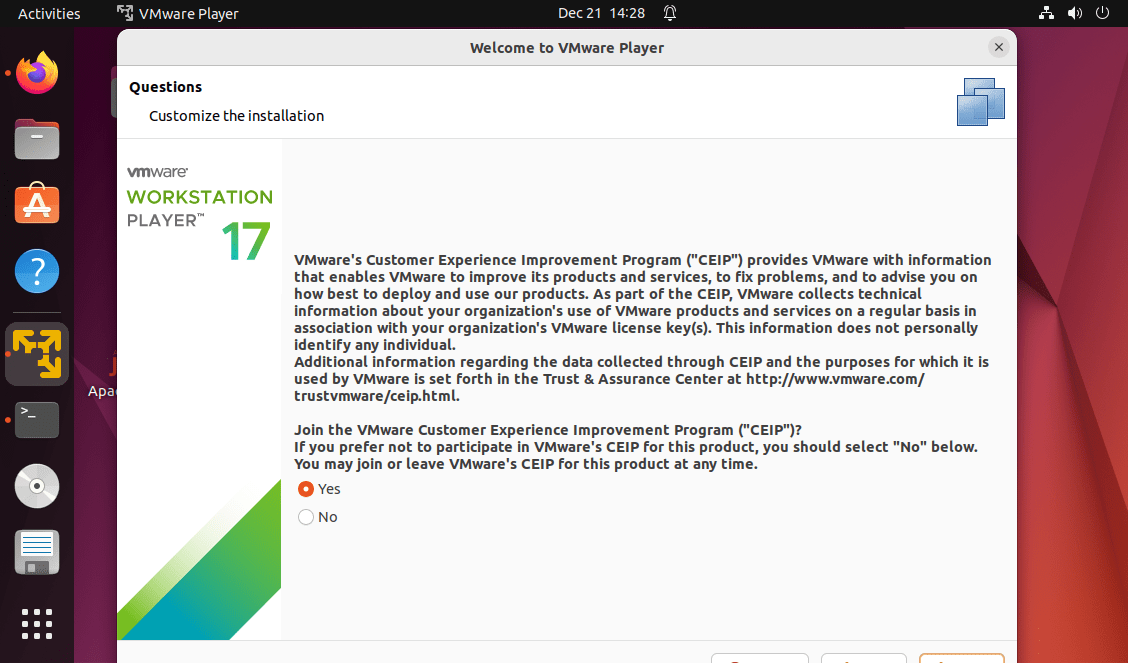
After selecting the desired option, click the OK button to start the Player.
Uninstall VMware Player:
If for some reason you want to remove VMware Player, use the following command:
sudo /usr/bin/vmware-installer -u vmware-player
You will be asked if you want to keep the config files:
All configuration information is about to be removed. Do you wish to keep your configuration files? You can also input 'quit' or 'q' to cancel uninstallation. [yes]: Press “Enter” to remove VMware Player from your system:
Uninstalling VMware Installer 3.0.0 Deconfiguring... [######################################################################] ۱۰۰% Uninstallation was successful.Conclusion :
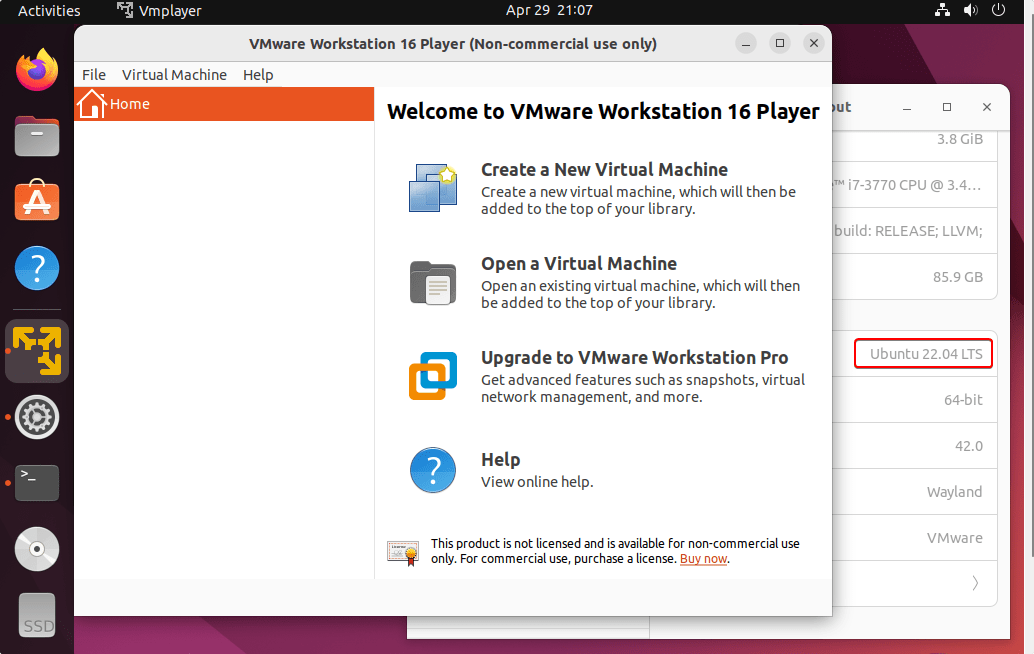
We have shown you how to install VMware Workstation Player on your Ubuntu system. Now you can browse the program options and create your first virtual machine.