How to set the time and date in ubuntu
In this tutorial, we are with you on how to correctly set the time and date on Ubuntu and Linux servers , sometimes it happens to you that the time and date of your server has changed without you having made any changes! And it has caused many problems for you, in some cases, the time and date of the server changes with the changes made in the network, in some cases, this happens with the installation of the script and the changes that are given.
The most complete tutorial on how to set the time and date in ubuntu in two automatic methods in the graphical environment and manually in the terminal environment. We are with you with the two methods below. different) and… you will not have linux operating systems in general.
The first method: learning how to set the time and date in ubuntu (automatically):
First, enter the server through ssh with the putty program (ssh to the server)
Enter the following command to set the clock:
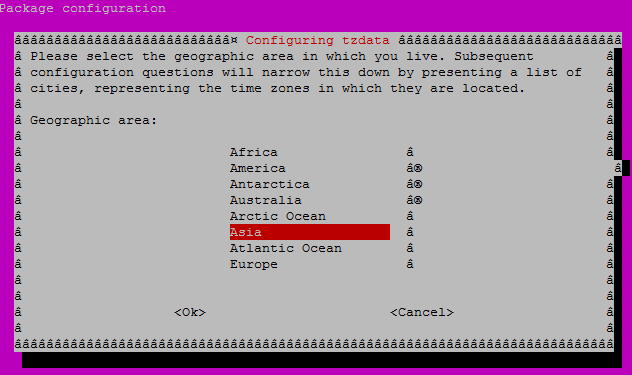
sudo dpkg-reconfigure tzdata
By entering the above command, a pink/gray color page will open for you. On this page, first select the continent of Asia, then on the next page, select the city of Tehran and press enter, as shown in the image below:
Your server time has been adjusted so easily!
Important note: If you set the time and date of the server with the above command, but the problem of setting the time is still not solved, set the date and time of the server with the manual method that we teach below.
The second method: teaching how to set the time and date in ubuntu (manually):
In this method, you can first see the date and time of the server with the following command
date
You can set the date and time automatically with the following command:
ntpdate 0.asia.pool.ntp.org
Our recommended method: You can do this manually using the following command:
date -s "7 OCT 2011 18:00:00"
or
date --set="7 OCT 2011 18:00:00"
Congratulations, the tutorial on setting the time and date in ubuntu is over.